Stampin’ Up! Masking paper is possibly the secret tool you never understood the value of having—until today, that is! I can’t wait to share the three cards I made and teach you step-by-step how to use this unique paper. In my head, initially, I thought of the masking paper as a large post-it note and while it shares some of those properties it is so much better than that for paper crafting! Hang with me while I explain the features and ways you can use it.
What Is Stampin’ Up! Masking Paper?
The masking paper is a unique lightly sticky-backed paper that is designed specifically for paper crafting. These sheets come in a package of 12 that are 5” x 7” sheets. Each sheet backing has a ‘scored’ line making it very easy to remove the backing. One cool thing about these sheets is that the adhesive is light enough that if you need to reposition or use your masking paper again you can do that; you can even see through them enough to be able to guide proper placement on your project if that’s necessary.
3 Ways To Use Masking Paper For Handmade Cards
There are a number of ways to use Stampin’ Up! Masking Paper in your crafting and it’s fun to try them all. Here are some of the ways I am using the paper today:
- Mask an area off and stamp around it —when you remove the paper you have crisp clear space around your stamping
- Mask an area off, stamp your images and then create a border using Stampin’ Blends (or any other alcohol marker)
- Stamp on masking paper, die cut the images and then layer other stamps around it.

Stampin’ Up! Masking Paper Video Tutorial
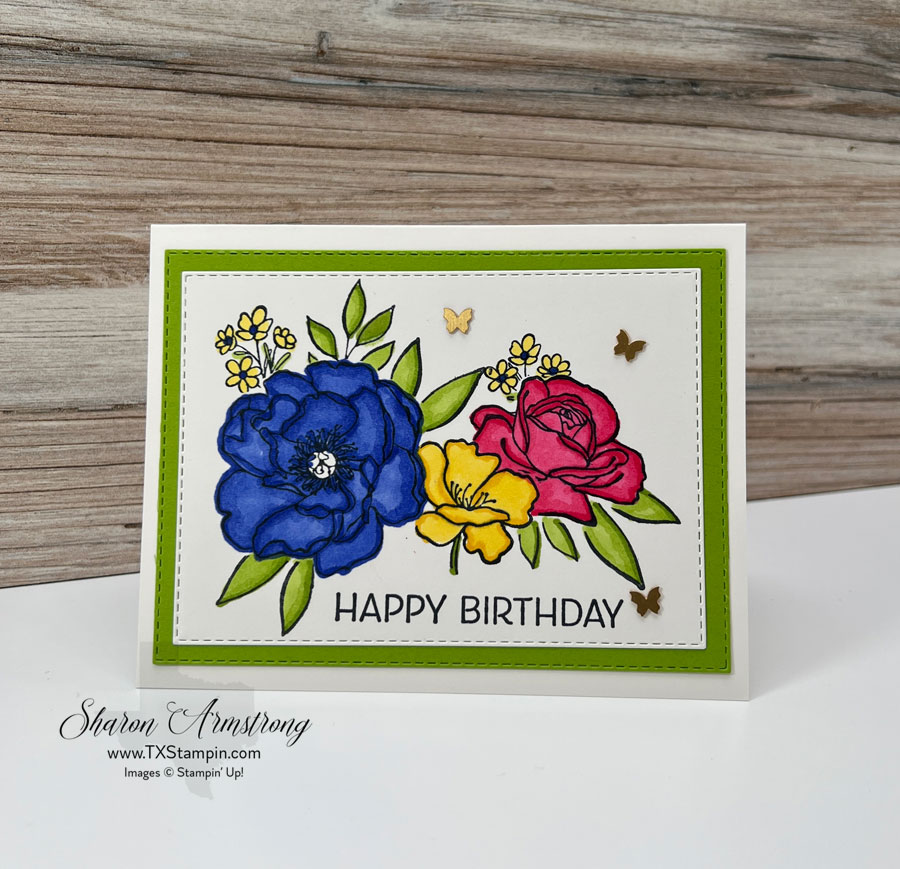
On my first card (image above) I was amazed that I could see the ‘Happy Birthday’ through the Masking Paper; that allowed me to place the paper exactly where I wanted it. Then, I stamped the flowers and leaves around it. When I removed the paper I got the exact look I was going for and nice even lines!

Which masking technique do you want to try first? I can’t wait to read your thoughts!
Card 2:
This card is similar to the first but I used ‘Hand-Penned Petals’ stamp set. I used my Stampin’ blends to color the flowers and leaves and then created a border effect around the Birthday greeting.

Card 3
Another way to use the masking paper is to stamp your images (flowers in this case) directly onto the masking paper and then die-cut them. Be sure to stamp on the front of the masking paper (not on the back which is the sticky side). The back has a peel-away paper backing.

For this 3rd technique you’ll first stamp your flower onto cardstock and then onto the masking paper. Die-cut the flower and place the masked paper over the stamped image on your cardstock. Repeat this step for each flower until it looks like the one below. Then, you can stamp the leaves and smaller flowers over and around the masked-version as you desire. Lift the mask and color the images as you desire.

Carefully remove the masking tape and put them inside your stamp set case; this way you can use them the next time you want to make another card.
I finished this card by die-cutting a large rectangle (Stitched Rectangle Dies) in Granny apple green to frame the stamped images. Don’t forget the Brushed Brass Butterflies!
PINTEREST-ING!
Follow me on Pinterest and save these card ideas to your favorite craft boards. You’ll be able to find these Stampin’ Up! Masking Paper ideas and grab the step-by-step instructions quickly any time you need them.

I have a complete Supply list below of what I used to make all of these cards. Once you click on the link you’ll see everything listed available to add to your cart; remove anything you don’t need!
Join my Newsletter and get 2 FREE project instructions each week!

Monthly Host Code is at the top of the blog.
If your order is over $150 do not use the Host Code and enjoy the Host Rewards! You can still track your points for any order over $50.
Make sure you check out everything I have to offer:
- Earn FREE PRODUCTS with my Shopping Spree on me Thank You Program – CLICK HERE
- Subscribe to my NEWSLETTER & get FREE PDF Tutorial & exclusive offers – CLICK HERE
- Tutorials For Sale – CLICK HERE
- Request Your Annual Catalog or Current Mini Catalog – CLICK HERE
- Subscribe to my YouTube Channel
- Follow me on Pinterest
- Follow me on Facebook

Discover more from TX Stampin' Sharon
Subscribe to get the latest posts sent to your email.

I LOVE your cards Sharon ~ too funny that I used and showcased the Masking Paper today as well ~ I love your creativity, thank you for sharing and have a wonderful vacation !!!
Thank you! That is too funny that you showed it too that day! I am back from a very wonderful vacation!
I love your work Sharon, and you are so much fun to work with
Thank you very much! This made my day!!!