Let’s chat about how to participate in Mystery Stamping! First, what IS Mystery stamping? It’s a step-by-step approach to card making over a weekly YouTube Live. You can learn all the details about mystery stamping’s home page.
To get started you’ll need the following supplies (found at most craft stores or in my online shop)
- Set of craft stamps
- Cardstock
- Stamping ink pads
- Adhesive
Once you’ve gathered your craft supplies you’ll next read the ‘clues’ and follow them one by one to make your card. There is no right or wrong way—just be creative and have fun! Experiment and try new things.
When your card is complete you’ll want to share it with others. Post a picture on social media and then send it off to a friend or family member!
Mystery Stamping is a fun and rewarding hobby and a great opportunity to connect with other crafters. Be sure and give it a try!

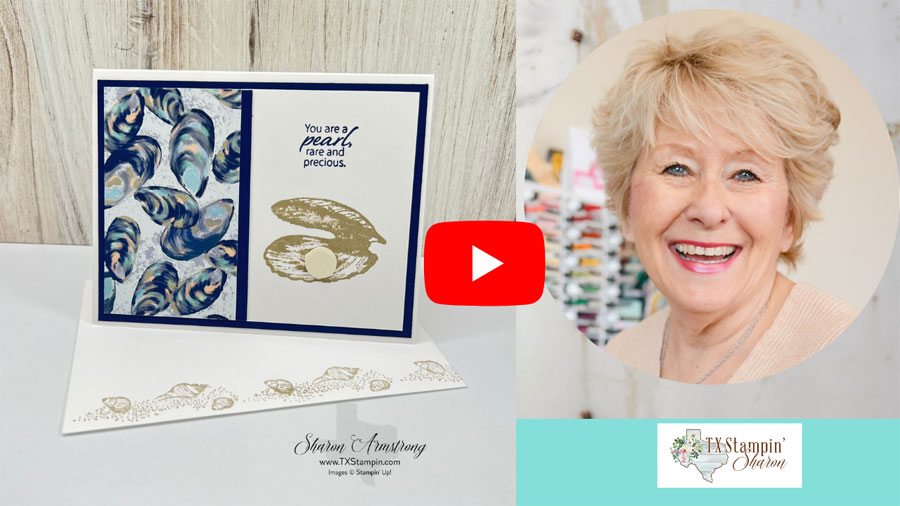
How To Get Started With Mystery Stamping Video Tutorial:
Having the video to follow along with gives you helpful visuals as you put your card together.

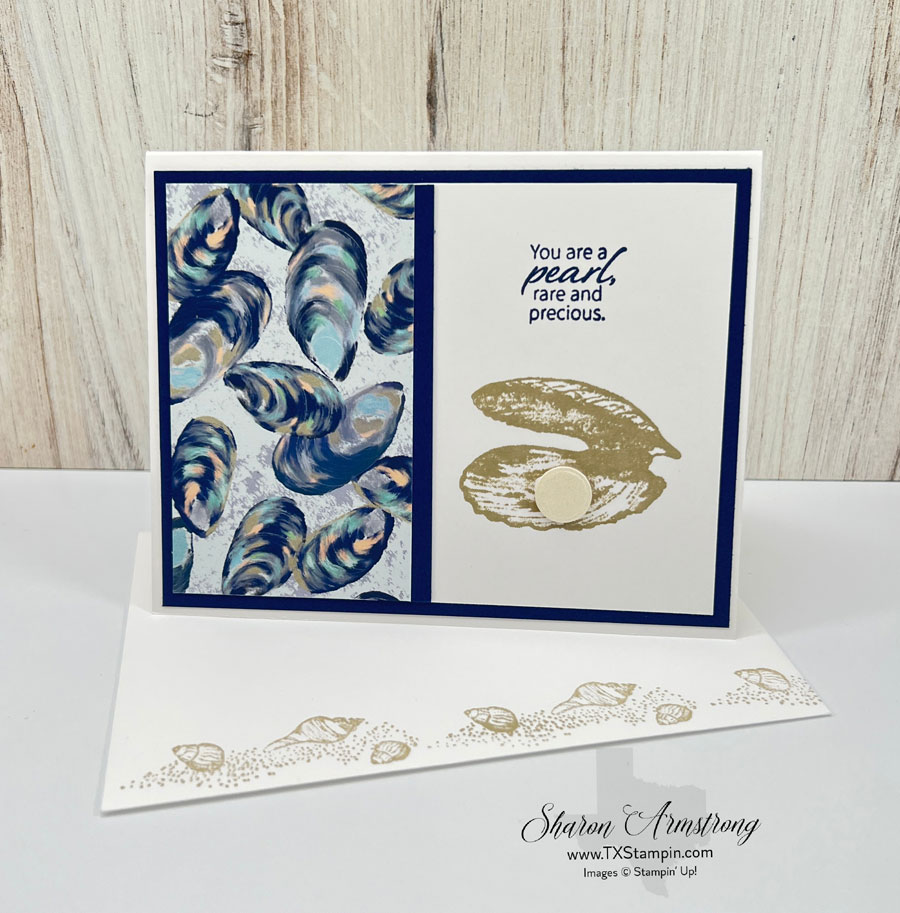
To Make This Weeks’ Card You Will Need The Following:
- Seaside Bay Stamp Set and Seaside Bay Dies
- Basic White cardstock
- Night of Navy Cardstock
- By the Bay Specialty Designer Series Paper (DSP)
- Pearlescent Specialty Paper
- Stampin’ Dimensionals
- Adhesive
Instructions:
- Card base: Cut a piece of Basic White cardstock 4-1/4″ x 5-1/2″. Score and fold it in half.
- Cut a piece of Night of Navy cardstock 4″ x 5-1/4″. Adhere it to the front of the card base.
- Add Basic White 3-3/4″ x 5″ to Night of Navy cardstock with adhesive
- Cut a piece of Night of Navy 1/2″ x 3-3/4″
- Cut a piece of By the Bay DSP to 2-1/4″ x 3-3/4″
- Add the 1/2″ Night of Navy to the right edge of the DSP with adhesive
- Adhere DSP/Night of Navy to the left side of the Basic White cardstock.
- Stamp the Greeting in Night of Navy Ink on the White cardstock.
- Stamp the Seashell in Crumb Cake Ink (‘By the Bay’ Stamp set) on White cardstock.
- Use Pearl Die to cut a Pearl from the Pearlescent Specialty Paper
- Use Stampin’ Dimensionals to adhere the card front to the card base.
Your easy Mystery Stamping card is now complete! I hope you enjoyed this tutorial and that you will try making your own Mystery Stamping card.
If you would like to make next week’s Mystery Card with us you should sign up for my newsletter so that you can receive the first clue. Tune into YouTube at 7:00 PM Central every Monday to participate.
What was your favorite part of this tutorial? Are you enjoying Mystery Stamping? Share your thoughts!
Below is a FREE DOWNLOAD; it’s my way of thanking you for visiting my blog!
PINTEREST-ING!
Follow me on Pinterest and save this Mystery Stamping project to your favorite card-making boards.

I have a complete Supply list below of what I used to make all of these cards. Once you click on the link below you will see everything listed that you can add to your cart. Simply remove anything you don’t need!
Did you know that when you join my Newsletter you get 2 Project instructions for FREE each week?

Monthly Host Code is at the top of the blog.

If your order is over $150 do not use the Host Code and enjoy the Host Rewards! You can still track your points for any order over $50.
Make sure you check out everything I have to offer:
- Earn FREE PRODUCTS with my Shopping Spree on Me Thank You Program – CLICK HERE
- Subscribe to my NEWSLETTER & get FREE PDF Tutorial & exclusive offers – CLICK HERE
- Tutorials For Sale – CLICK HERE
- Request Your Annual Catalog or Current Mini Catalog – CLICK HERE
- Subscribe to my YouTube Channel
- Follow me on Pinterest
- Follow me on Facebook


Leave a Reply