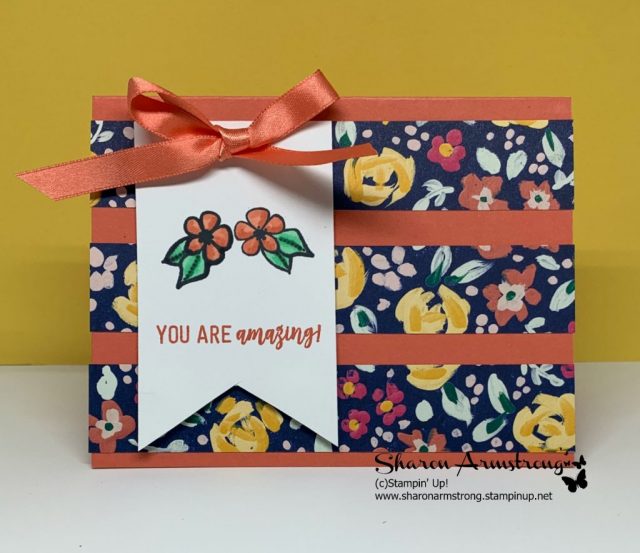
Many of y’all have commented on my card bases and layers post and YouTube video that you were struggling with getting card layers on straight. So today we unlock the secret to straight layers in card making!!
If you missed my post on Card Bases and Layers | Beginning Stamping you can see it by clicking the photo below
Honestly I am sure there are other tips that some of you may have and I would love to hear those! Helping fellow stampers enjoy card making and decreasing their frustration is what makes the card making community what it is today!
As you will see in the video I share tips on adding the layers to these cards and not really doing any stamping on the video. My video shows how to use grid paper to help line up layers and how to hover over your project before laying the layers down.
Use a liquid glue like Tombow Multipurpose Liquid Glue to add layers on your cards. With Liquid Glue you can easily slide the layers and straighten them out or pick the layer up completely before the glue dries.
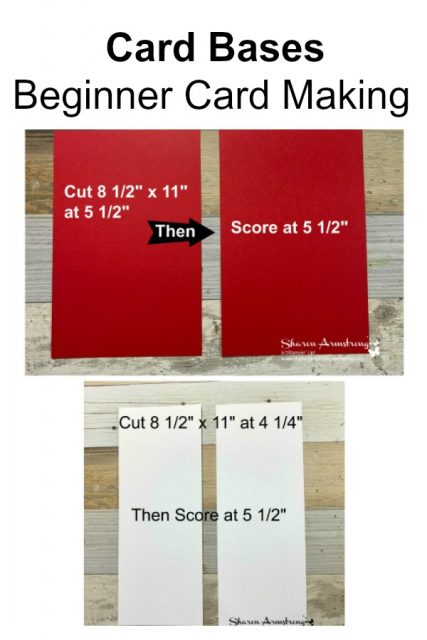
![]() Want to remember these tips? Pin the below image!
Want to remember these tips? Pin the below image!
If you use a sticker adhesive like Snail, you can use a Heat Tool to heat the back of the cardstock to remove layers. When removing layers pull very slowly so that you don’t tear any of the layers.
Video Tutorial: Unlock the Secret to Straight Layers in Card Making
Watch my video for tips and tricks on getting those layers on straight!
If you are viewing this in an email you may not see the video link
Click the YouTube Button now to SUBSCRIBE so you don’t miss out!
What tips have you tried to get layers on straight? Share them in the comments below to help others!
Let’s Chat Y’all
There is just so much going on right now with Stampin’ Up! and I know it’s hard to remember it all! Heck, I have trouble remembering!
Using this area of my post to remind you of everything!
To see what Tutorials I have to offer visit https://txstampin.com/tutorials-for-sale
Join the Fun!
During Sale-A-Bration if your shopping list is close to $100 you need to stop and consider getting the Starter Kit! Yes, that means you are joining as a Demonstrator. But that also means you get soooo much Free that it is so worth it. I am advising people to give it a try, you have nothing to lose and so much to gain! If you have questions I am happy to answer them!
Shop up to $175 anything you want
Shipping is FREE
Only pay sales tax on either kit option you choose! Option 1 $99 – No tote, Option 2 $129 includes Craft & Carry Tote!
Plus, after you become a Stampin’ Up! Demonstrator you save 20-25% every time you order!
If you enjoyed today’s post
Make sure to check out everything else I have to offer!
· Earn FREE PRODUCTS with my Stamping Rewards – CLICK HERE
· Subscribe to my NEWSLETTER & get FREE PDF Tutorial & exclusive offers – CLICK HERE
· Tutorials For Sale – CLICK HERE
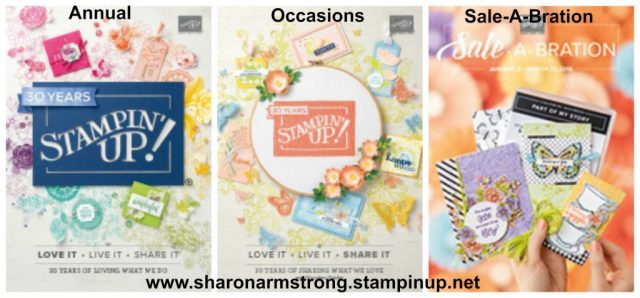
· Request Your 2018-2019 Annual Catalog or Occasions Catalog – CLICK HERE
· Subscribe to my YouTube Channel
· Follow me on Pinterest
· Follow me on Facebook
Would You Like a Stampin’ Up! Catalog?
If you don’t already have a Stampin’ Up! Demonstrator that you work with, I would love to earn your business and become YOUR demonstrator. CLICK HERE to request a FREE Copy of any current catalog.
